
Hello, and welcome to my first post! Thank you for visiting me. I can’t tell you how excited I am to start this blog. It’s something I’ve wanted to do for a very long time. At some point, I’ll post a little bit about myself. But, for now, let’s talk about my Ikea hack! I wanted to jump in and start with this post to get the ball rolling.
At the time of this very easy DIY project, I was pregnant. We had just moved into our house and I was in the midst of some serious nesting (some of you mommies know what I’m talking about!). I focused on the playroom first because we wanted our daughter (hereafter referred to as Peach) to have her own space for all things play (especially with the baby’s impending arrival). I needed a station for her art supplies, colouring books, etc. It had to be functional, easy to put together and CHEAP. I was not prepared to spend lots of cash on something that was going to take an inevitable beating. With that in mind, I headed on over to Ikea’s website.
As soon as I saw the Bygel Utility Cart, I knew it would be perfect. Its clean lines and simple design meant very little upkeep for me (you can imagine the kind of mess a 3 year old can create).
I then googled for ideas and came across this blog post at iheartorganizing. When I saw Jen’s finished product, I just knew the Flyt magazine files were perfect for this project. Thanks to her post, there was no guesswork in whether the magazine files would fit (the five that come in a pack were just right).
Once I purchased the cart, containers and magazine files, I set out to work. My workstation was our dining table (we didn’t have much table space at the time). I used leftover tissue paper because the bright colours suited the playroom’s colour scheme.

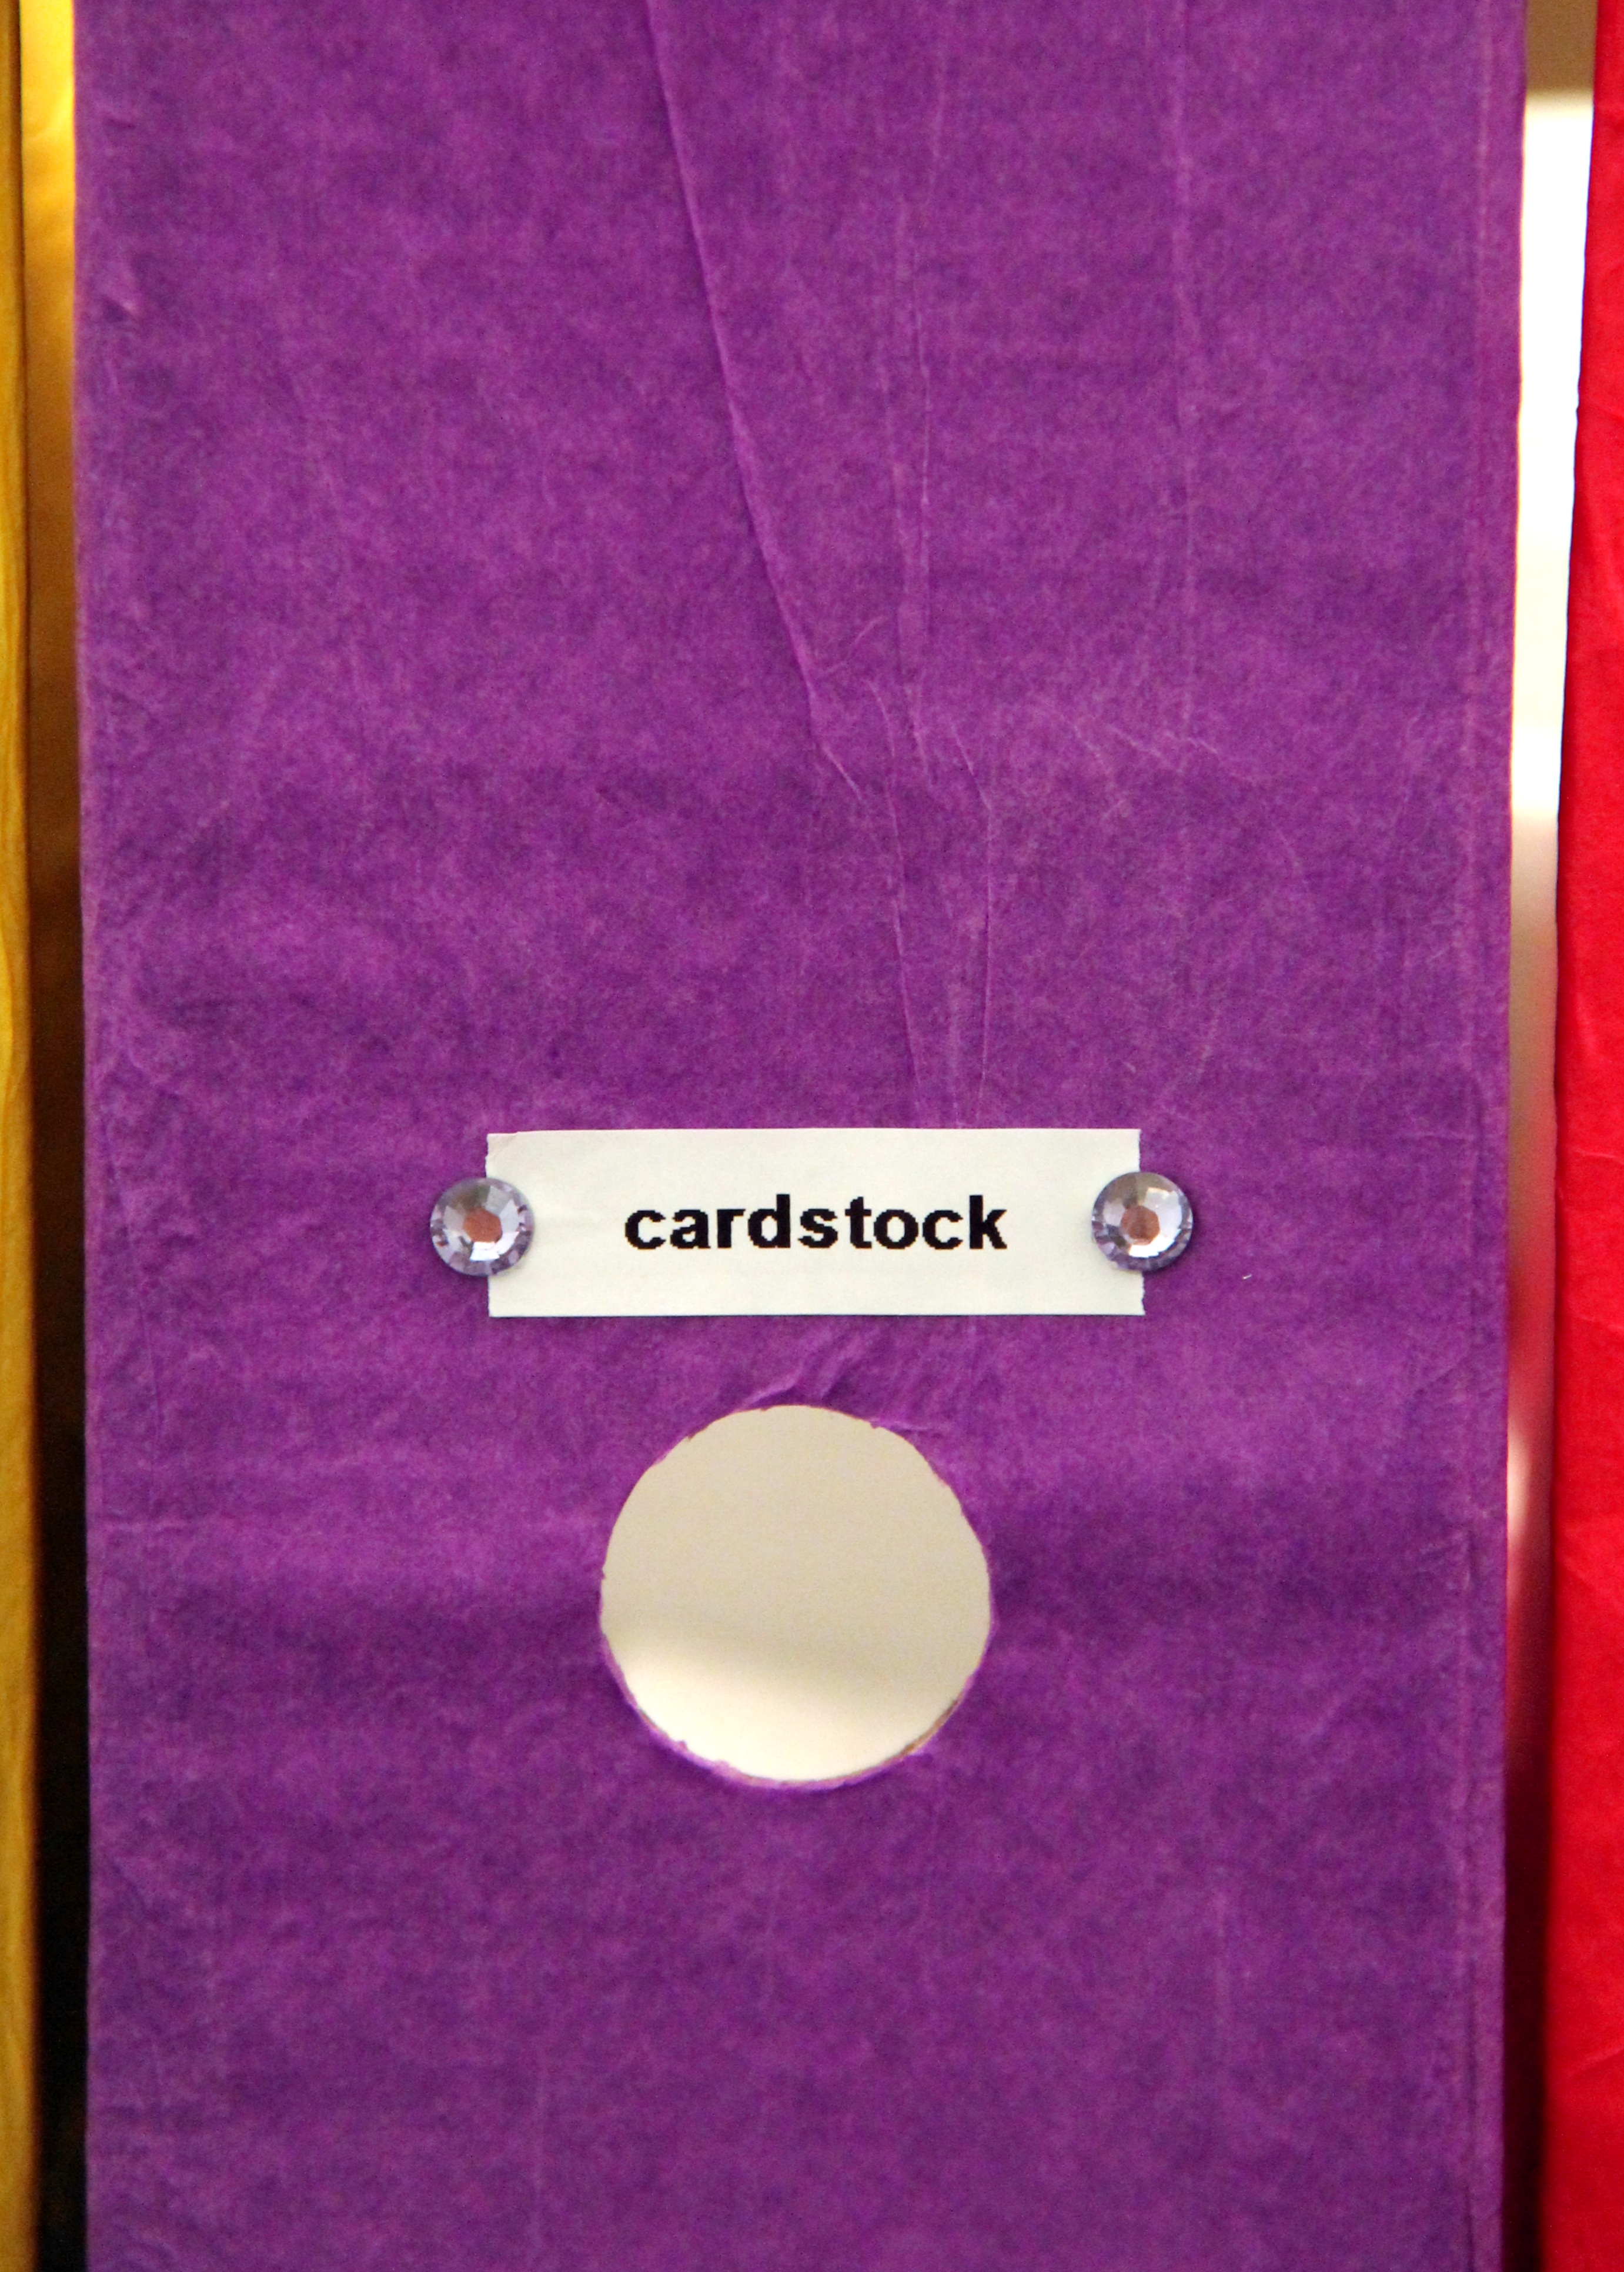
Should your kids decide to peel any tissue off, you can always slap on a new piece with diluted white glue to cover it up. The paper mache, especially when you’re layering with tissue paper, adds more character to your magazine file. I chose not to cover up the holes so that you can get a peek at what’s inside.


I used my label maker to print out labels and finished them with rhinestones on either side of the label. I matched the rhinestones with the colour of the magazine file. You can see in the close-up below that the paper isn’t smooth. I like the texture the paper mache effect gives. If you want something smooth/flat, you might want to use wrapping paper, newspaper, etc.

Finally, I filled each magazine file with materials, as per the labels.


I call this the Art Cart because that’s exactly what it is — a cart containing art supplies. Peach uses it often and it has, to date, stood up to her 3 year old hands. All it needs is a quick wipe down. To get out stubborn crayon marks, I use Mr. Clean magic erasers. This cart is not only convenient, but it helps keep everything nice and tidy. You can add duct tape to the inside base of the magazine files if you plan to store books.
The total project cost me around $52 (for the cart, magazine files and containers). I didn’t factor in the cost of glue, tissue paper, rhinestones, etc. since I had those materials already.
The best thing about this is that the magazine files allowed me to customize the cart to fit the playroom. By using different colours and materials, you can pretty much get this to match any decor (how about some gorgeous teal felt magazine files to go with your gold, spray painted cart?).
So there you have it: my very first post. Thank you for reading and I hope you come back again. Let me know what you think by commenting below.

Love your use of color and tissue paper! Thank you so much for sharing, it turned out great!
Jen
LikeLiked by 1 person
I’m so glad you dropped by, Jen. Your post helped me with this DIY. Thank you again!
LikeLike